
如何自定义文章头部图片
文章摘要
Qing
AI初始化中...
介绍自己 🌸
生成本文简介 👋
推荐相关文章 📖
前往主页 🏠
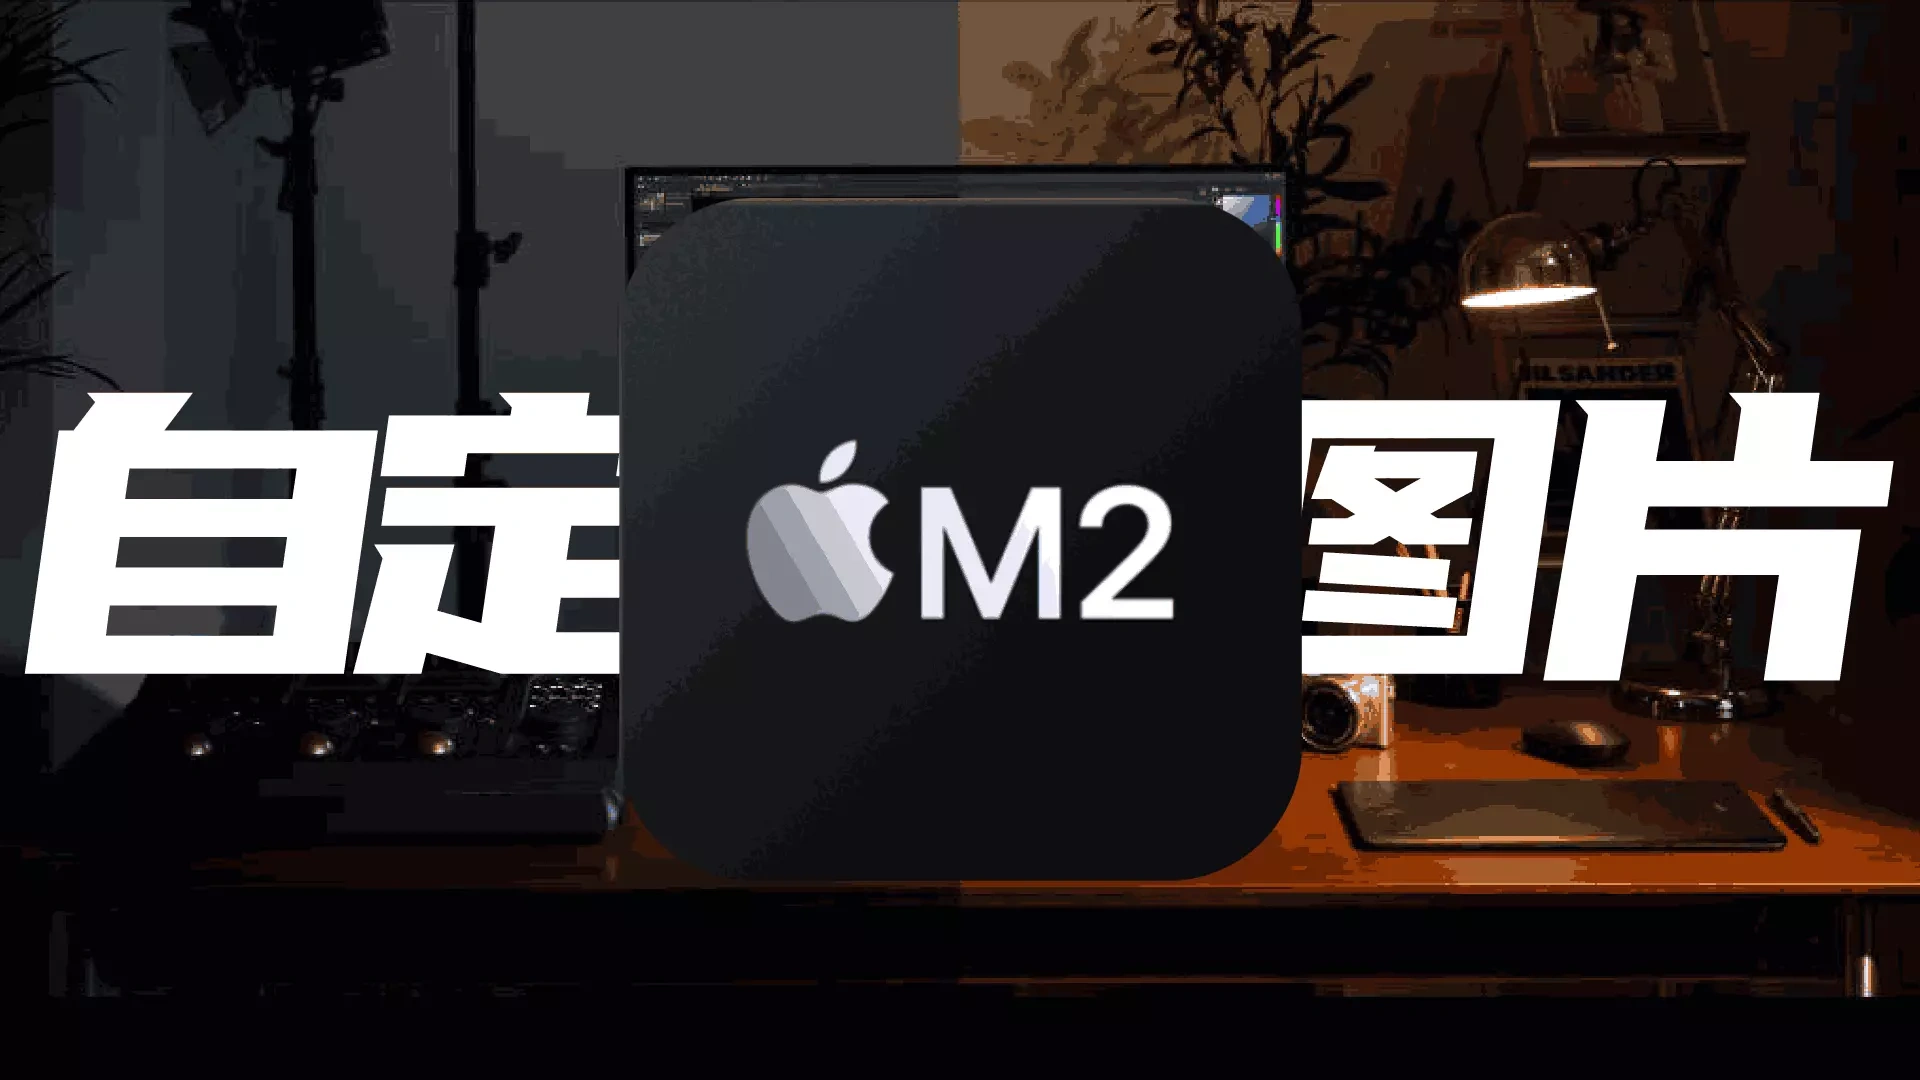
如何自定义文章头部图片
Qing样式预览

- 首先,在 自定义的 MarkDown 中的添加
type = "xxx"。 - 其次,在 自定义的 MarkDown 中 添加如下代码。
1 | <div id="page"> |
- 再者,在 Blog/themes/anzhiyu/source/css/_page 中新建
xxx.styl,并添加以下代码。
1 | body[data-type="xxx"] #web_bg |
注意
- 上述步骤中的
type = "xxx"与body[data-type="xxx"]保持一致 - MarkDown中的
<div class="author-content author-content-item xxxPage single">中xxxPage与 xxx.styl中 .author-content.author-content-item.xxxPage 中xxxPage保持一致。
接下来,就可以去看看效果。

喜欢这篇文章的人也看了
评论
匿名评论隐私政策
✅ 你无需删除空行,直接评论以获取最佳展示效果